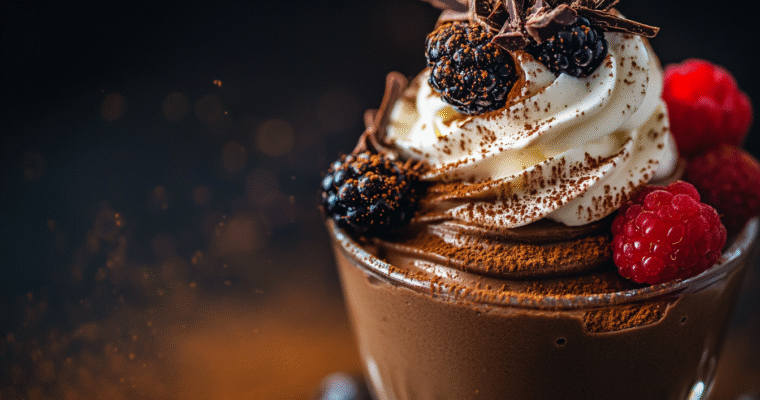
Classic Chocolate Mousse Recipe
This classic chocolate mousse is rich, creamy, and effortlessly elegant. Made with just a few simple ingredients, it’s the perfect dessert to impress your guests or indulge in a sweet treat on your own.

This classic chocolate mousse is rich, creamy, and effortlessly elegant. Made with just a few simple ingredients, it’s the perfect dessert to impress your guests or indulge in a sweet treat on your own.
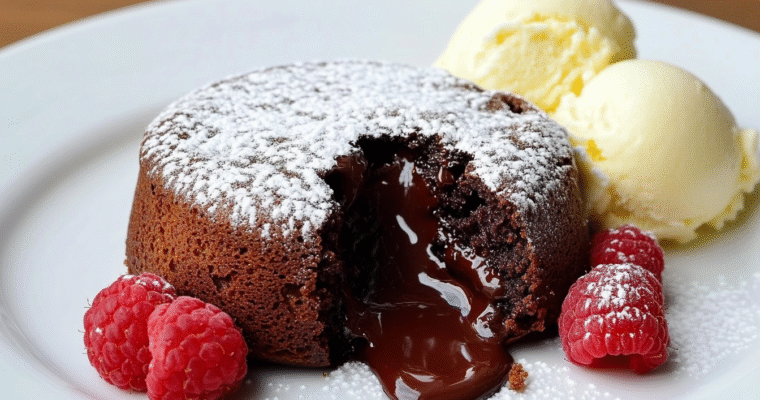
Decadent, rich, and irresistibly gooey, this chocolate lava cake is the ultimate indulgence for any dessert lover. It’s surprisingly simple to make but feels impressively gourmet.
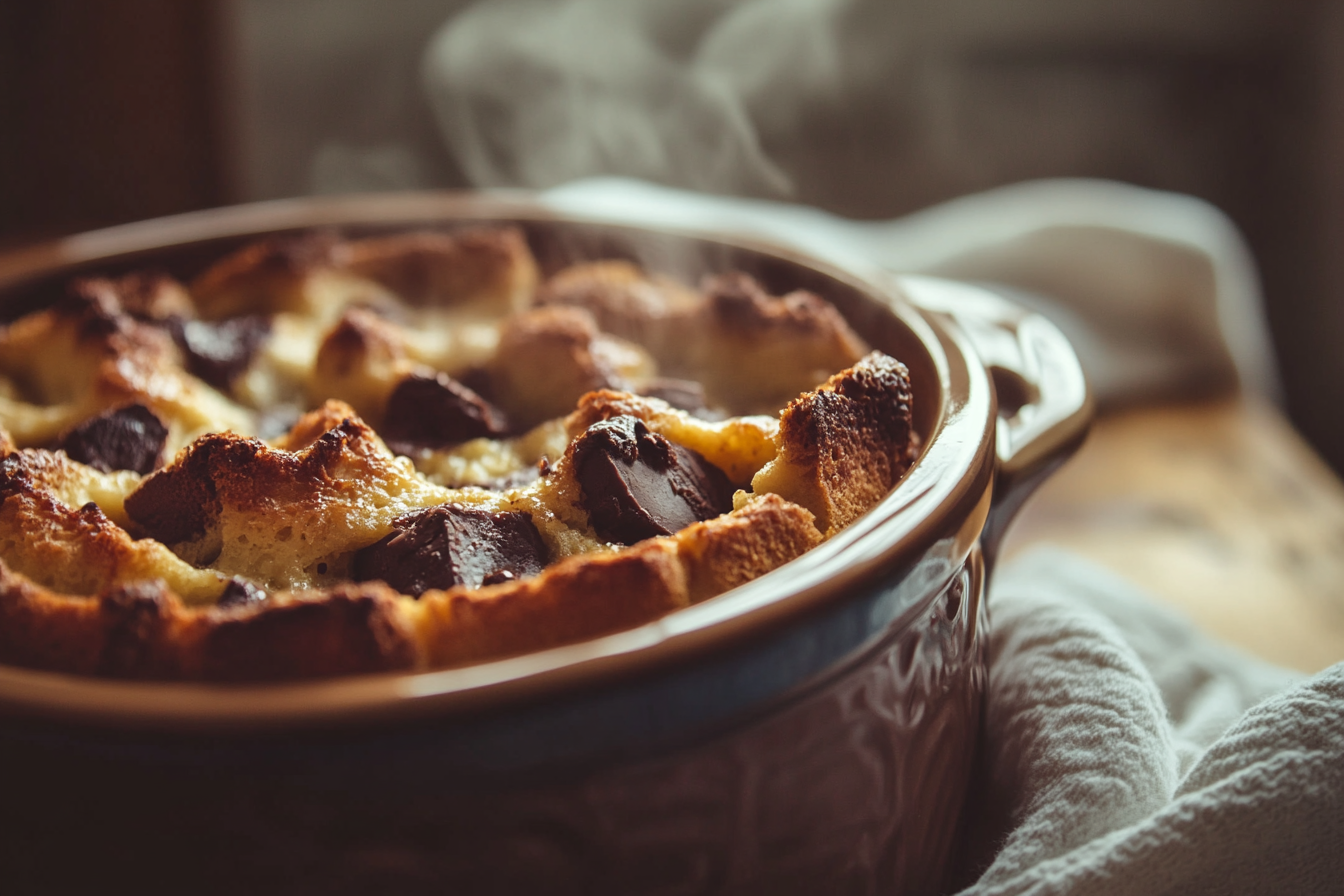
A rich, comforting chocolate bread pudding made with brioche and melty chocolate, served warm with a silky vanilla sauce. It’s cozy, decadent, and perfect for any occasion.
Print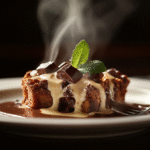
This Chocolate Bread Pudding is the ultimate comfort dessert—crispy on the edges, gooey in the middle, and bursting with pockets of melty chocolate. Made with buttery brioche or challah, it soaks up a luscious custard spiked with vanilla and a hint of espresso for depth. Baked to golden perfection, it’s indulgent on its own but becomes unforgettable when paired with a warm pour of homemade vanilla sauce. Whether you serve it for a dinner party, holiday gathering, or cozy night in, this dessert brings old-fashioned soul with a gourmet twist.
6 cups cubed day-old brioche or challah (about 1-inch cubes)
2 cups whole milk
1 cup heavy cream
4 large eggs
3/4 cup granulated sugar
1/2 cup brown sugar
1 tsp vanilla extract
1/2 tsp salt
1 1/2 cups semi-sweet chocolate chips or chopped chocolate
Optional: 1 tbsp espresso powder (enhances chocolate flavor)
Optional: 1/2 cup chopped pecans or walnuts
Simple Vanilla Sauce (Optional but Amazing)1 cup whole milk
1 cup heavy cream
1/2 cup sugar
2 egg yolks
1 tbsp cornstarch
1 tbsp butter
1 tbsp vanilla extract (or 1/2 vanilla bean, scraped)
Whisk milk, cream, sugar, and cornstarch in a saucepan,. Warm over medium heat until just steaming.
Whisk yolks in a small bowl . Slowly pour some warm mixture into yolks to temper, then return all to pan.
Cook, stirring constantly, until thick enough to coat the back of a spoon (about 5–7 minutes).
Remove from heat, stir in butter and vanilla. Strain if needed. Serve warm or chilled over bread pudding.
✅ Best Bread to Use:
✅ Liqueur Flavor Boosts:
Nutrition Disclaimer: The nutritional information provided is an estimate based on standard ingredients and serving sizes. Actual values may vary depending on specific products used and portion sizes. This information is provided for convenience and should not be considered medical or dietary advice.
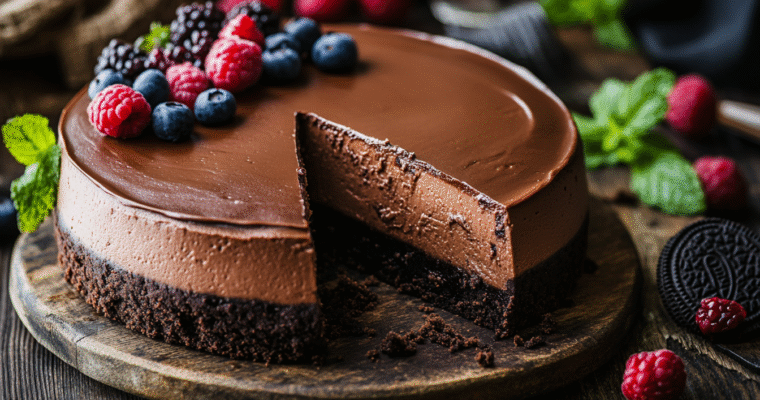
A rich and creamy baked chocolate cheesecake with a crunchy Oreo crust, topped with a silky chocolate ganache for the ultimate indulge nce.
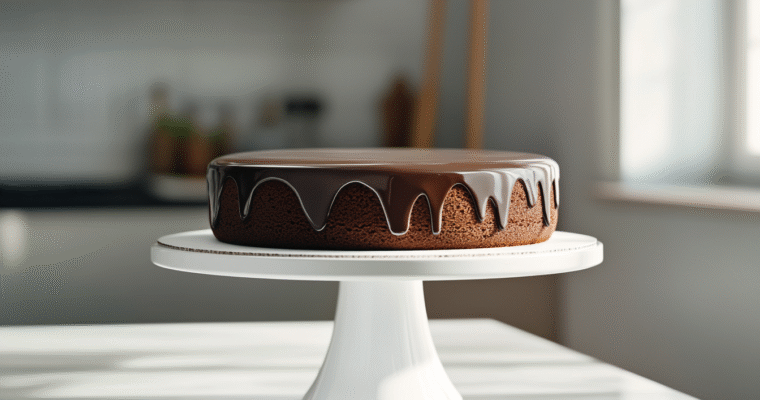
Dense, rich, and unapologetically chocolatey, this Decadent Chocolate Cake is a showstopper that’s naturally gluten-free and deeply satisfying. It’s my go-to dessert for dinner guests — indulgent, make-ahead friendly, and guaranteed to wow.

This cake strikes the perfect balance: a tender, moist crumb, intense chocolate flavor, and a smooth, creamy frosting that melts in your mouth. Whether it’s for a birthday, celebration, or just because, this is the cake that gets rave reviews every single time.
Print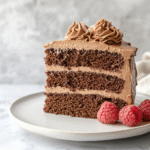
This is no ordinary chocolate cake — it’s the ultimate indulgence for any chocolate lover. Each bite is a perfect balance of rich, deep chocolate flavor, and the texture is nothing short of velvety. Made with the finest Dutch-process cocoa, this cake is incredibly moist and tender, thanks to a combination of buttermilk and hot coffee that enhances the chocolate’s natural richness.
Whether you’re hosting a special celebration or simply craving a treat, this cake is bound to steal the show. The thick, creamy chocolate frosting is the perfect finishing touch, creating a decadent contrast with the cake’s airy crumb. Plus, it’s easy to make ahead — just bake, frost, and let the flavors develop overnight, making it a stress-free dessert for entertaining. Perfect for piping rosettes or adding a stunning border, this cake is as beautiful as it is delicious.
Once you try this cake, you’ll agree — it truly is the world’s best chocolate cake.
1 3/4 cups (220g) all-purpose flour
3/4 cup (65g) unsweetened Dutch-process cocoa powder
2 cups (400g) granulated sugar
1 1/2 tsp baking powder
1 1/2 tsp baking soda
1 tsp salt
2 large eggs
1 cup (240ml) buttermilk, room temperature
1/2 cup (120ml) vegetable oil
2 tsp pure vanilla extract
1 cup (240ml) hot coffee (or hot water with 1 tsp espresso powder)
Preheat oven to 350°F (175°C). Grease and line two 9-inch round cake pans with parchment paper.
2. Mix the Dry IngredientsIn a large mixing bowl, whisk together flour, cocoa powder, sugar, baking powder, baking soda, and salt.
3. Add the Wet IngredientsAdd eggs, buttermilk, oil, and vanilla. Mix until smooth. Slowly add hot coffee and stir until fully combined — the batter will be thin.
4. BakeDivide the batter evenly between the two pans. Bake for 30–35 minutes, or until a toothpick inserted comes out clean. Let cool in pans for 10 minutes, then transfer to a wire rack to cool completely.
5. Make the FrostingBeat the butter until creamy. Add cocoa powder and beat until smooth. Gradually add powdered sugar and milk, beating until fluffy (about 2-3 minutes). Add a tablespoon of milk at a time until it reaches the desired consistency for spreading or piping. Stir in vanilla and a pinch of salt.
6. AssemblePlace one cake layer on a serving plate. Spread a generous layer of frosting on top. Add the second layer and frost the top and sides. Smooth or swirl the frosting with an offset spatula.
This frosting is enough to fill and frost a 2- or 3-layer cake generously and pipe borders or rosettes.
For ultra-smooth texture, use room temperature butter and sift the cocoa and powdered sugar.
Chill slightly before piping if the frosting becomes too soft in warm conditions.
To give the edges a neat, sharp finish:
The 1M tip creates a soft, rounded rosette with beautiful detail, making your cake look professional and elegant.
If you want an extra crisp edge around the base, use a piping tip with a straight edge (like a #47 leaf tip) for a clean, professional look.
For a Decadent Chocolate Cake (especially with a rich frosting and rosette decorations), here are some perfect pairings to enhance the flavors and provide balance:
These pairings enhance the overall experience of enjoying your Decadent Chocolate Cake, whether you’re looking for a complementary drink, fresh sides, or extra toppings.
Nutrition Disclaimer: The nutritional information provided is an estimate based on standard ingredients and serving sizes. Actual values may vary depending on specific products used and portion sizes. This information is provided for convenience and should not be considered medical or dietary advice.

A Sweet Encounter in the Baking Aisle The other day, while browsing the baking aisle at my local grocery store, an elderly lady approached me, searching for lemon pie filling mix. We scoured the shelves together but couldn’t find it—it simply wasn’t stocked. I mentioned…
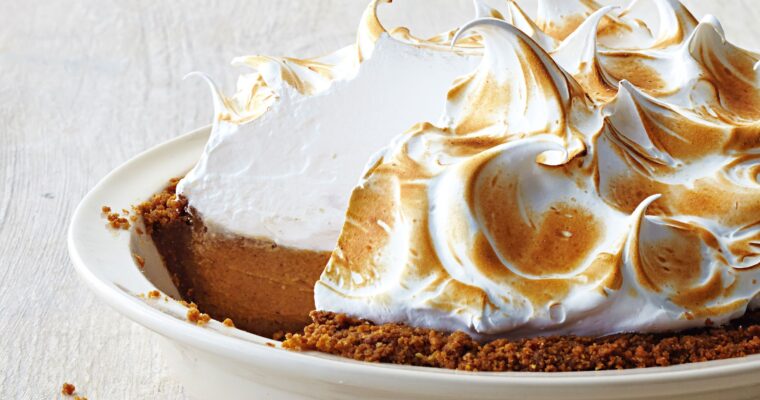
Italian Meringue is a silky, glossy topping made by whipping hot sugar syrup into egg whites. Renowned for its stability and smooth texture, it’s perfect for pies, buttercreams, and elegant dessert finishes.
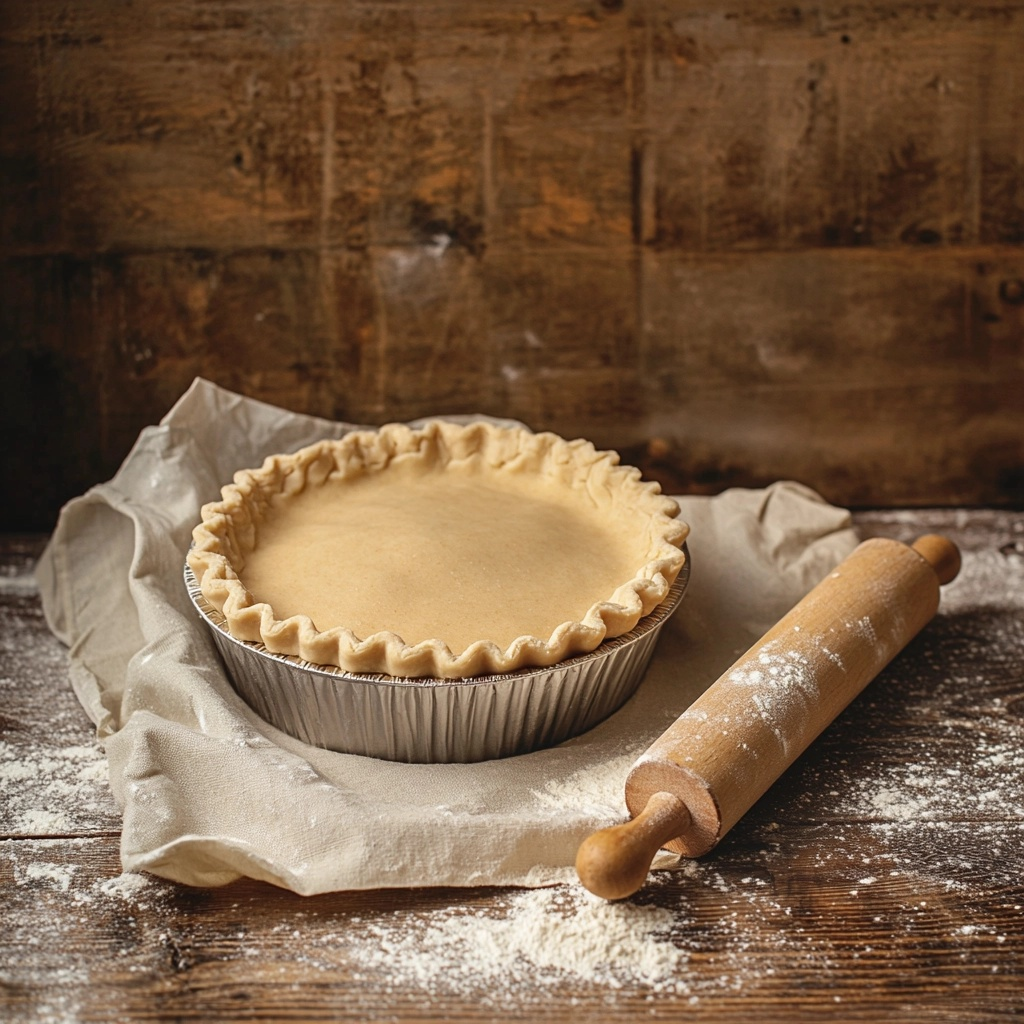
Making a perfect pie crust is an essential skill for any home baker. Whether you’re preparing a sweet pie for dessert or a savory quiche, a flaky, buttery crust is the foundation of the dish.
Print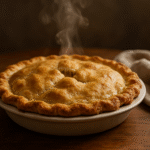
A basic pie crust is made with just a few ingredients, but it’s the technique that makes all the difference. Here’s a tried-and-true recipe with a twist—using both butter and lard for an incredibly flaky texture.
Making a perfect pie crust is an essential skill for any home baker. Whether you’re preparing a sweet pie for dessert or a savory quiche, a flaky, buttery crust is the foundation of the dish. But achieving that perfect balance of crisp, tender, and golden can be tricky. Let’s dive into the key ingredients, tips, and techniques that will help you make a pie crust that will impress every time. Click to learn why i use a combination of butter and lard instead of hydrogenated vegetable oil when making pie crust.
1 1/4 cups all-purpose flour
1/2 teaspoon salt
1/4 cup unsalted butter, chilled and cut into small cubes
1/4 cup lard, chilled and cut into small cubes
1 tablespoon white vinegar
3-4 tablespoons ice water
pinch of sugar
Combine the dry ingredients: In a large mixing bowl, whisk together the flour and salt.
Cut in the fat: Add the chilled butter and lard cubes to the flour mixture. Using a pastry cutter, fork, or your fingertips, cut the fat into the flour until the mixture resembles coarse crumbs with pea-sized pieces of fat.
Add vinegar and water: Mix the vinegar into the ice water. Drizzle 3 tablespoons of this ice water-vinegar mixture over the flour and fat mixture and gently stir with a fork. Add the remaining tablespoon if necessary, one teaspoon at a time, until the dough just begins to come together. Be careful not to overwork the dough.
Form the dough: Turn the dough onto a lightly floured surface and gently knead it a few times to bring it together. Shape the dough into a disk, wrap it in plastic wrap, and refrigerate for at least 30 minutes before using.
Roll out the dough: After chilling, roll the dough on a floured surface to your desired thickness, and transfer it into your pie dish.
Pre-bake or fill: Depending on your recipe, either bake the crust partially (pre-bake) or fill it with your desired pie filling and bake according to the instructions.
Preheat oven to 375°F (190°C).
Line the crust with parchment paper and fill with pie weights or dried beans.
Bake for 15 minutes, then remove the weights and parchment.
Continue baking for 10–12 minutes or until lightly golden brown.
(Optional: Brush with egg wash and return to oven for 2–3 minutes to seal the crust.)
For Filled Pies (Not Pre-baked):
Follow the baking temperature and time specified in your filling recipe—most pies bake at 375°F to 425°F for 45–60 minutes depending on the filling.
Makes 1 single 9-inch pie crust
(For a double-crust pie, simply double the recipe.)
You might be wondering why vinegar is included in this pie crust recipe. The addition of vinegar serves a few important purposes:
Flakiness: Vinegar helps to inhibit gluten formation. This results in a more tender, flaky crust since too much gluten can make the dough tough.
Acidity: The vinegar adds a slight acidity, which helps break down the proteins in the flour, making the dough more pliable and easier to handle. It also promotes a more tender texture.
Crispness: The acidity from vinegar can help the crust bake up crisp and golden, preventing it from becoming too soft or soggy when it’s filled with wet ingredients.
Achieving that perfect flaky texture involves more than just the right recipe—it’s about the technique. Here are some tips to ensure your pie crust is everything you want it to be:
Chill First, Roll Second
After making the dough, let it rest in the fridge for at least 30 minutes (up to 2 days). Cold dough is easier to handle and helps keep the fat solid for flakiness.
Flour Wisely
Lightly flour your work surface, rolling pin, and the dough itself to prevent sticking. Don’t overdo it—too much flour can toughen the dough. A bench scraper can help lift the dough if it sticks.
Start from the Center
Always roll from the center outward, turning the dough slightly after each roll to keep the circle even. This helps maintain an even thickness throughout.
Keep It Moving
Rotate and lift the dough frequently while rolling. If it starts to stick, dust underneath with a little more flour. Don’t force it—gentle, even pressure is best.
Aim for 1/8-Inch Thickness
That’s the sweet spot for most pies—thin enough to bake through, thick enough to hold your filling without tearing.
Use a Guide
Roll your dough to about 12 inches in diameter for a 9-inch pie plate. A ruler or rolling pin rings can help guide your thickness.
Roll Between Parchment Sheets
If you struggle with sticking or tearing, roll the dough between two pieces of parchment paper or plastic wrap. This makes transferring to the pie dish a breeze.
Patch It Up
If your dough tears, don’t panic! Press it gently back together or patch with a small piece of extra dough moistened with water.
Transfer with Care
To move your dough to the pie plate, roll it gently around your rolling pin and unroll it into the pan. Adjust gently to avoid stretching—it’ll shrink during baking if pulled too tight.
Chill Before Baking
Once your dough is in the pan, pop it back in the fridge for 15–20 minutes before baking. This helps it hold its shape and reduces shrinkage.
If you’ve ever baked a pie only to find that the crust edges are burnt while the filling is undercooked, you’re not alone. Here are a few ways to prevent that from happening:
Use Pie Weights: When pre-baking a crust, use pie weights or dried beans to prevent the dough from puffing up and creating air pockets.
Wrap the Edges with Aluminum Foil: This classic trick helps prevent the crust edges from burning. Simply wrap the edges of the pie with aluminum foil, making sure to leave the center exposed. This will shield the crust from direct heat while allowing the filling to bake through. You can remove the foil in the last 15 minutes of baking for a golden, crisp edge.
Shiny Side Out: When using foil, make sure the shiny side is facing out. This reflects heat away from the crust and helps it bake more evenly.
Watch Your Oven Temperature: If you notice your crust browning too quickly, reduce the oven temperature by 10–15 degrees Fahrenheit. This will allow the filling to catch up without overcooking the crust.
A soggy bottom can be a real disappointment, but it’s easy to avoid with a few simple strategies:
Blind Baking: If you’re making a pie with a wet filling, like a custard pie, pre-baking (or blind baking) the crust is essential. This creates a barrier between the filling and the dough, preventing sogginess.
Brush with Egg Wash: Before baking, brush the crust with a light layer of egg wash (a beaten egg mixed with a tablespoon of water). This seals the dough and creates a protective barrier between the crust and the filling.
Baking Sheet Underneath: Place your pie on a hot baking sheet to help the bottom of the crust cook quickly and evenly.
With the right recipe and technique, making a perfect pie crust is within reach for every baker. By following these tips and tricks, you’ll be able to create a flaky, golden crust that’s the perfect base for your favorite pie filling. Whether you’re baking for the holidays or just because, a homemade pie crust is the key to a truly special dessert.
Happy baking!