Homemade Yum Yum Sauce
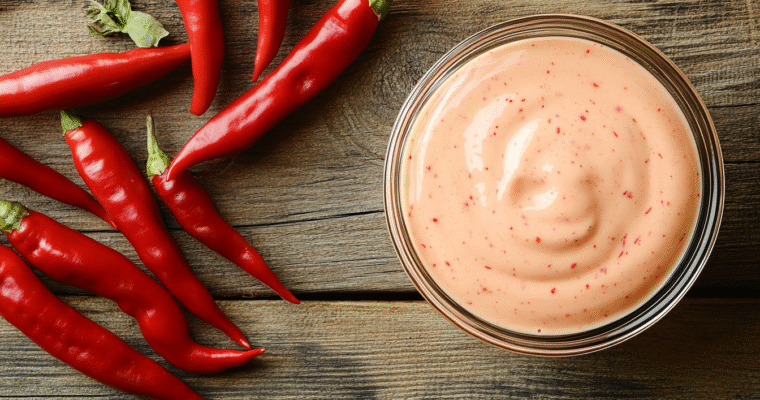
Yum Yum Sauce is a creamy, slightly sweet, and tangy Japanese steakhouse sauce that’s perfect for dipping, drizzling, or spreading. It’s quick to prepare and enhances a variety of dishes.

Yum Yum Sauce is a creamy, slightly sweet, and tangy Japanese steakhouse sauce that’s perfect for dipping, drizzling, or spreading. It’s quick to prepare and enhances a variety of dishes.
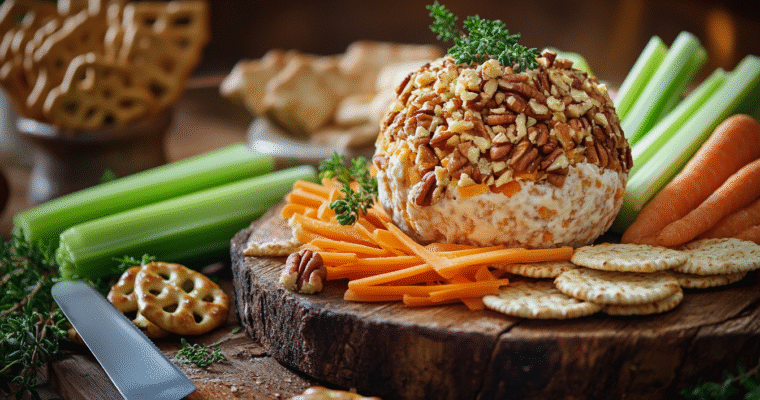
This cheese ball blends the richness of cream cheese and sharp cheddar with the savory notes of green onions and Worcestershire sauce. Rolled in toasted pecans, it offers a delightful crunch in every bite.
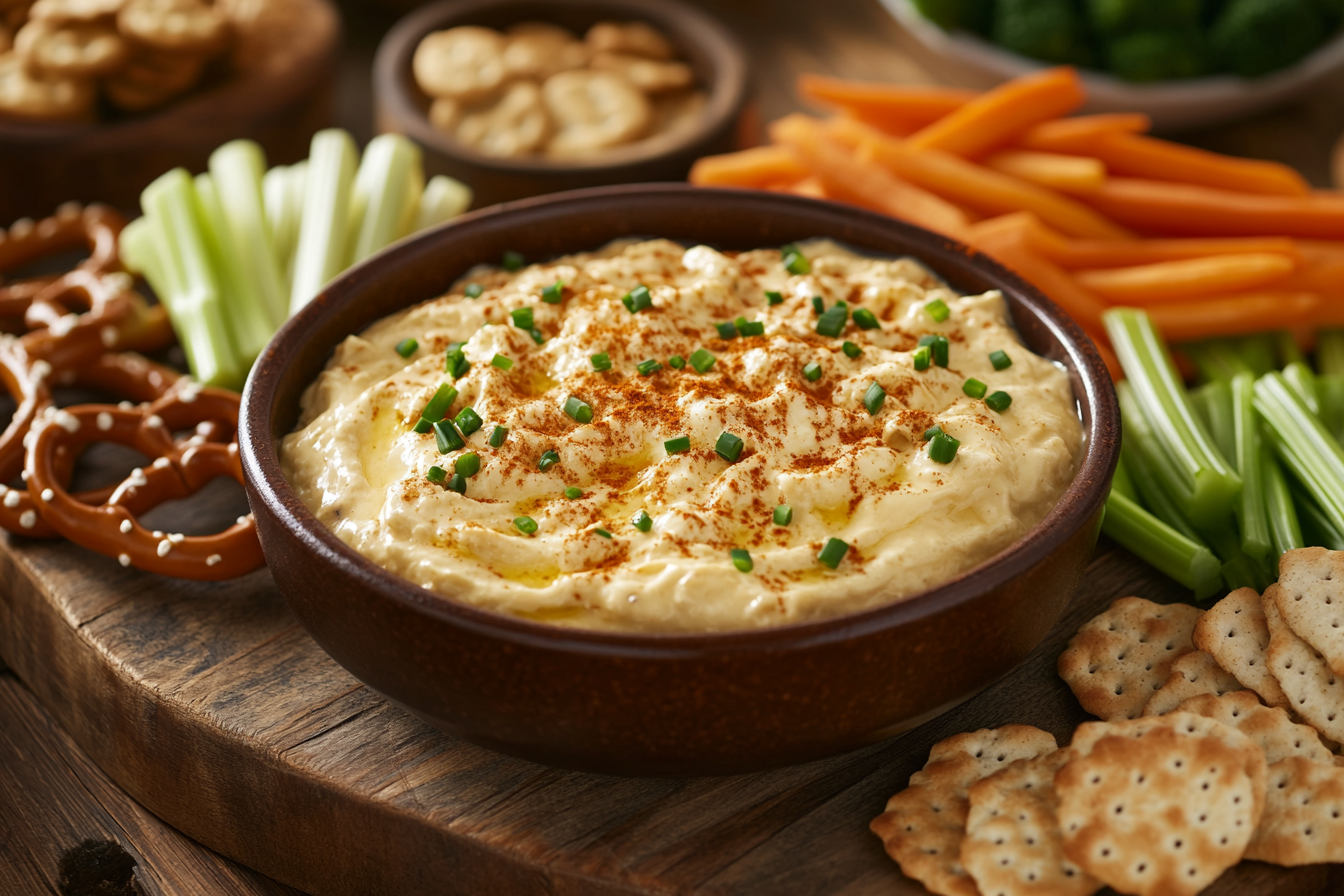
A bold and creamy beer cheese spread blending Cheddar, Monterey Jack, Cream Cheese, and Parmesan, infused with a hint of heat and your favorite brew.
Print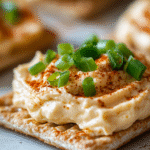
This beer cheese spread is a harmonious blend of four cheeses: sharp Cheddar, mellow Monterey Jack, smooth cream cheese, and nutty Parmesan. The addition of your preferred beer introduces a malty depth, while a touch of heat from spice like mustard powder along with Tabasco sauce adds a zesty kick.
Perfect for gatherings, this spread pairs wonderfully with pretzels, crackers, or fresh vegetables. Its rich and tangy profile makes it a crowd-pleaser, ideal for game days, parties, or any occasion where comfort food is appreciated.
Easy Peasy!
How did you put your own twist on this beer cheese spread? Share your signature spin! 💙
Nutrition Disclaimer: The nutritional information provided is an estimate based on standard ingredients and serving sizes. Actual values may vary depending on specific products used and portion sizes. This information is provided for convenience and should not be considered medical or dietary advice.
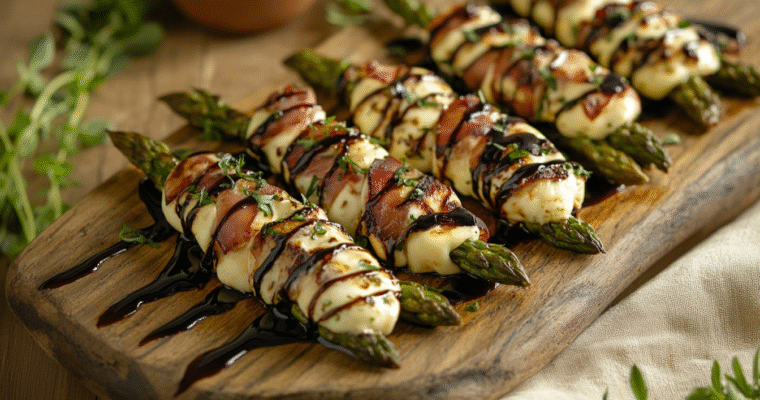
Elevate your appetizer game with these elegant Prosciutto and Havarti Asparagus Bites. A harmonious blend of crisp asparagus, savory prosciutto, and creamy Havarti cheese, all drizzled with a sweet-tangy balsamic glaze. Perfect for any gathering, these bites are sure to impress.
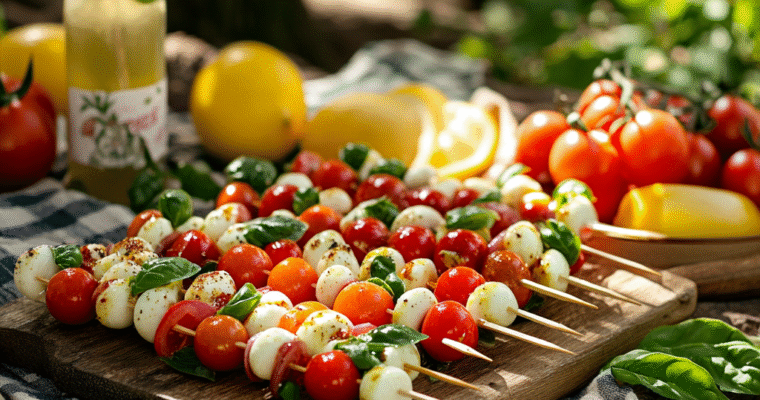
Party‑friendly recipe for Mini Caprese Skewers with Lemon-Basil Drizzle—perfect for your Joyista Life potluck menu. The bite‑size skewers can be assembled in 10 minutes and travel beautifully; the bright citrus‑herb drizzle wakes up the classic tomato‑mozzarella combo without overpowering it
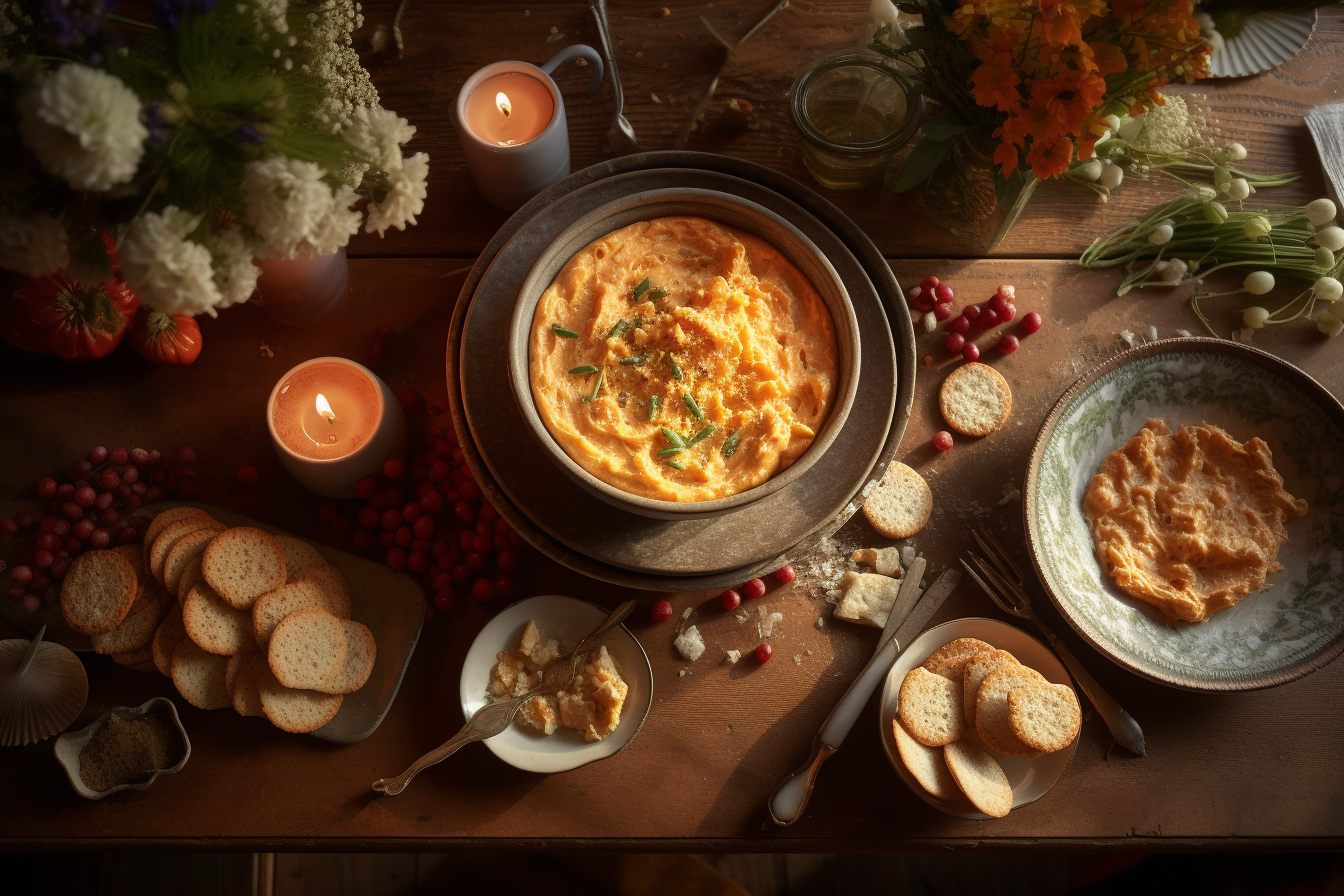
Here’s a crowd‑pleasing pimento‑cheese dip that stays true to its Southern roots yet mixes in a few chef‑tested tweaks for extra depth. All measurements are for one party bowl (about 3 cups) but double easily.
Print
There’s a certain magic that happens when sharp cheddar, a swipe of tangy Duke’s‑style mayo, and ruby‑red pimentos mingle in one humble bowl. Pimento cheese is Southern comfort dressed for a porch party—equal parts nostalgic and irresistibly creamy. Around here we call it “gather‑round dip,” because the moment it hits the table, cousins, neighbors, and newcomers circle up with butter crackers in hand.
Our Joyista take leans into bright flavor and effortless charm: two cheddars grated fresh for real bite, a whisper of cream cheese for velvety body, and a playful flicker of cayenne that lingers just long enough to make you reach for another scoop. Stir it together in ten minutes, let it chill while you set the playlist, and this spread is ready to crown burgers, tuck into tea sandwiches, or shine on its own alongside crisp celery sticks.
Simple, shareable, and made with love—because nothing says “welcome to the gathering” quite like a bowl of pimento cheese shared under twinkling patio lights.
8 oz sharp yellow Cheddar cheese, freshly grated
4 oz extra‑sharp white Cheddar cheese, freshly grated
3 oz cream cheese, softened
1/2 cup mayonnaise (Duke’s‑style or homemade preferred)
1 jar (4 oz) diced pimentos, well‑drained
1 Tbsp finely grated yellow onion or 1/4 tsp onion powder
1/2 tsp Worcestershire sauce
1/4 tsp garlic powder
1/8 tsp cayenne pepper (adjust to taste)
Kosher salt and freshly ground black pepper, to taste
Optional: 1 small jalapeño, minced and seeded for extra kick
Beat base. In a medium bowl, whip softened cream cheese until light; blend in mayo until smooth
Add flavorings. Stir in grated onion, Worcestershire, garlic powder and cayenne.
Fold cheeses & pimentos. Add both Cheddars plus drained pimentos; mix gently with a spatula so shreds stay distinct.
Season. Taste; adjust salt, pepper and heat level. Remember the heat will develop after setting.
Chill. Cover and refrigerate at least 1 hour so flavors develop. Keeps up to 1 week refrigerated.
Tips and variations:
And there you have it—Joyista‑style pimento‑cheese perfection, ready to spark smiles at the very first swipe. Of course, every family has its own secret swirl: maybe yours sneaks in smoked paprika, swaps jalapeño for pickled okra, or leans extra‑creamy with a dollop of Greek yogurt.
Tell me—what twist does your crew swear by? Drop your favorite adaptation in the comments so we can keep passing the bowl (and the inspiration) around the table. 💙
Nutrition Disclaimer: The nutritional information provided is an estimate based on standard ingredients and serving sizes. Actual values may vary depending on specific products used and portion sizes. This information is provided for convenience and should not be considered medical or dietary advice.

A Sweet Encounter in the Baking Aisle The other day, while browsing the baking aisle at my local grocery store, an elderly lady approached me, searching for lemon pie filling mix. We scoured the shelves together but couldn’t find it—it simply wasn’t stocked. I mentioned…
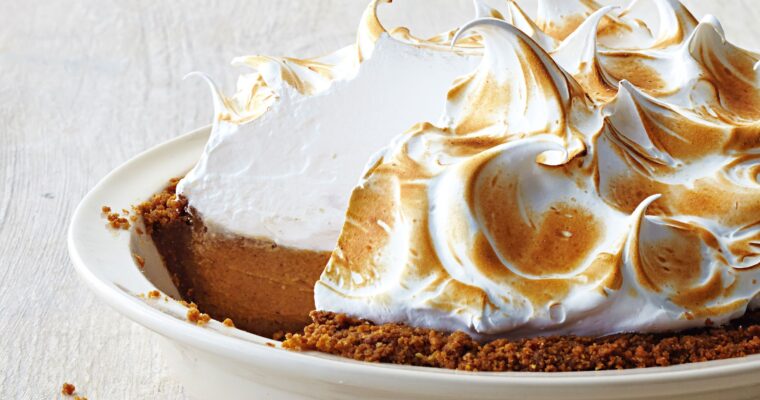
Italian Meringue is a silky, glossy topping made by whipping hot sugar syrup into egg whites. Renowned for its stability and smooth texture, it’s perfect for pies, buttercreams, and elegant dessert finishes.
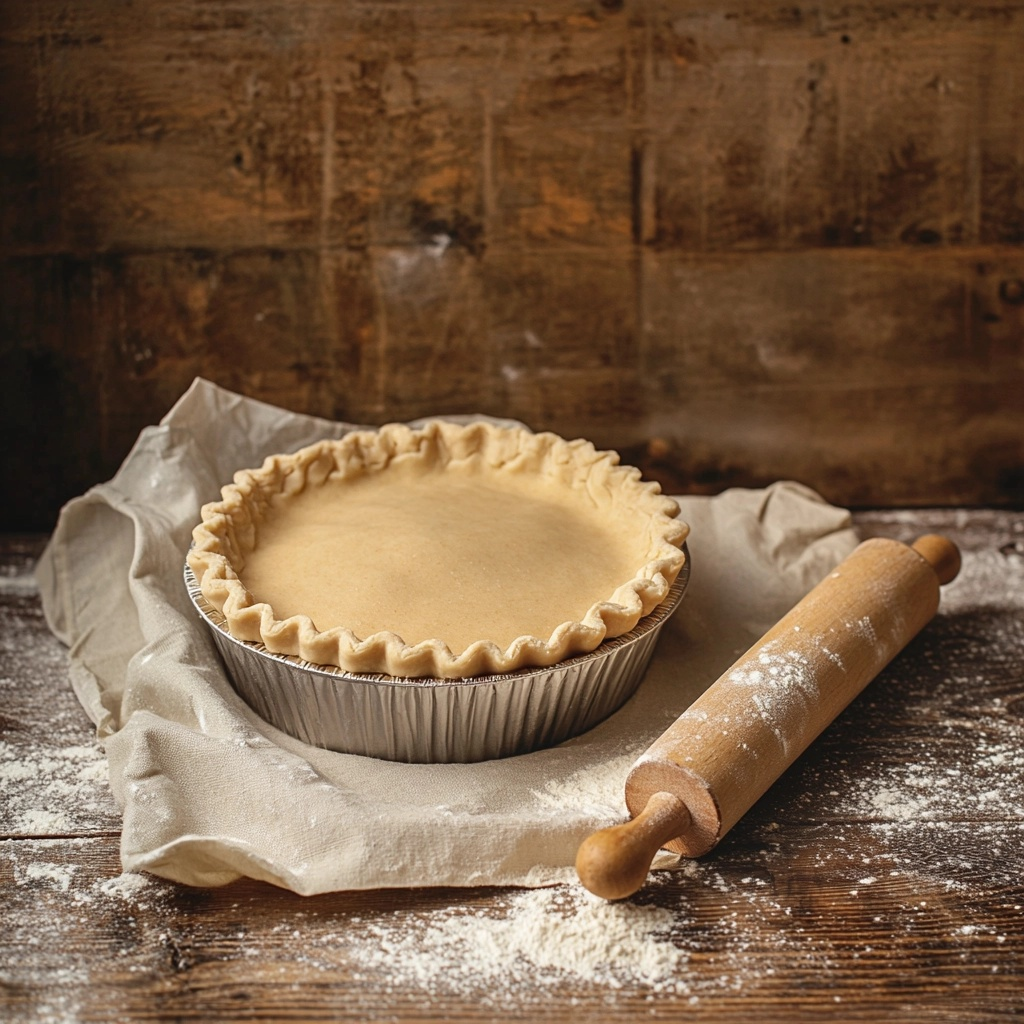
Making a perfect pie crust is an essential skill for any home baker. Whether you’re preparing a sweet pie for dessert or a savory quiche, a flaky, buttery crust is the foundation of the dish.
Print
A basic pie crust is made with just a few ingredients, but it’s the technique that makes all the difference. Here’s a tried-and-true recipe with a twist—using both butter and lard for an incredibly flaky texture.
Making a perfect pie crust is an essential skill for any home baker. Whether you’re preparing a sweet pie for dessert or a savory quiche, a flaky, buttery crust is the foundation of the dish. But achieving that perfect balance of crisp, tender, and golden can be tricky. Let’s dive into the key ingredients, tips, and techniques that will help you make a pie crust that will impress every time. Click to learn why i use a combination of butter and lard instead of hydrogenated vegetable oil when making pie crust.
1 1/4 cups all-purpose flour
1/2 teaspoon salt
1/4 cup unsalted butter, chilled and cut into small cubes
1/4 cup lard, chilled and cut into small cubes
1 tablespoon white vinegar
3-4 tablespoons ice water
pinch of sugar
Combine the dry ingredients: In a large mixing bowl, whisk together the flour and salt.
Cut in the fat: Add the chilled butter and lard cubes to the flour mixture. Using a pastry cutter, fork, or your fingertips, cut the fat into the flour until the mixture resembles coarse crumbs with pea-sized pieces of fat.
Add vinegar and water: Mix the vinegar into the ice water. Drizzle 3 tablespoons of this ice water-vinegar mixture over the flour and fat mixture and gently stir with a fork. Add the remaining tablespoon if necessary, one teaspoon at a time, until the dough just begins to come together. Be careful not to overwork the dough.
Form the dough: Turn the dough onto a lightly floured surface and gently knead it a few times to bring it together. Shape the dough into a disk, wrap it in plastic wrap, and refrigerate for at least 30 minutes before using.
Roll out the dough: After chilling, roll the dough on a floured surface to your desired thickness, and transfer it into your pie dish.
Pre-bake or fill: Depending on your recipe, either bake the crust partially (pre-bake) or fill it with your desired pie filling and bake according to the instructions.
Preheat oven to 375°F (190°C).
Line the crust with parchment paper and fill with pie weights or dried beans.
Bake for 15 minutes, then remove the weights and parchment.
Continue baking for 10–12 minutes or until lightly golden brown.
(Optional: Brush with egg wash and return to oven for 2–3 minutes to seal the crust.)
For Filled Pies (Not Pre-baked):
Follow the baking temperature and time specified in your filling recipe—most pies bake at 375°F to 425°F for 45–60 minutes depending on the filling.
Makes 1 single 9-inch pie crust
(For a double-crust pie, simply double the recipe.)
You might be wondering why vinegar is included in this pie crust recipe. The addition of vinegar serves a few important purposes:
Flakiness: Vinegar helps to inhibit gluten formation. This results in a more tender, flaky crust since too much gluten can make the dough tough.
Acidity: The vinegar adds a slight acidity, which helps break down the proteins in the flour, making the dough more pliable and easier to handle. It also promotes a more tender texture.
Crispness: The acidity from vinegar can help the crust bake up crisp and golden, preventing it from becoming too soft or soggy when it’s filled with wet ingredients.
Achieving that perfect flaky texture involves more than just the right recipe—it’s about the technique. Here are some tips to ensure your pie crust is everything you want it to be:
Chill First, Roll Second
After making the dough, let it rest in the fridge for at least 30 minutes (up to 2 days). Cold dough is easier to handle and helps keep the fat solid for flakiness.
Flour Wisely
Lightly flour your work surface, rolling pin, and the dough itself to prevent sticking. Don’t overdo it—too much flour can toughen the dough. A bench scraper can help lift the dough if it sticks.
Start from the Center
Always roll from the center outward, turning the dough slightly after each roll to keep the circle even. This helps maintain an even thickness throughout.
Keep It Moving
Rotate and lift the dough frequently while rolling. If it starts to stick, dust underneath with a little more flour. Don’t force it—gentle, even pressure is best.
Aim for 1/8-Inch Thickness
That’s the sweet spot for most pies—thin enough to bake through, thick enough to hold your filling without tearing.
Use a Guide
Roll your dough to about 12 inches in diameter for a 9-inch pie plate. A ruler or rolling pin rings can help guide your thickness.
Roll Between Parchment Sheets
If you struggle with sticking or tearing, roll the dough between two pieces of parchment paper or plastic wrap. This makes transferring to the pie dish a breeze.
Patch It Up
If your dough tears, don’t panic! Press it gently back together or patch with a small piece of extra dough moistened with water.
Transfer with Care
To move your dough to the pie plate, roll it gently around your rolling pin and unroll it into the pan. Adjust gently to avoid stretching—it’ll shrink during baking if pulled too tight.
Chill Before Baking
Once your dough is in the pan, pop it back in the fridge for 15–20 minutes before baking. This helps it hold its shape and reduces shrinkage.
If you’ve ever baked a pie only to find that the crust edges are burnt while the filling is undercooked, you’re not alone. Here are a few ways to prevent that from happening:
Use Pie Weights: When pre-baking a crust, use pie weights or dried beans to prevent the dough from puffing up and creating air pockets.
Wrap the Edges with Aluminum Foil: This classic trick helps prevent the crust edges from burning. Simply wrap the edges of the pie with aluminum foil, making sure to leave the center exposed. This will shield the crust from direct heat while allowing the filling to bake through. You can remove the foil in the last 15 minutes of baking for a golden, crisp edge.
Shiny Side Out: When using foil, make sure the shiny side is facing out. This reflects heat away from the crust and helps it bake more evenly.
Watch Your Oven Temperature: If you notice your crust browning too quickly, reduce the oven temperature by 10–15 degrees Fahrenheit. This will allow the filling to catch up without overcooking the crust.
A soggy bottom can be a real disappointment, but it’s easy to avoid with a few simple strategies:
Blind Baking: If you’re making a pie with a wet filling, like a custard pie, pre-baking (or blind baking) the crust is essential. This creates a barrier between the filling and the dough, preventing sogginess.
Brush with Egg Wash: Before baking, brush the crust with a light layer of egg wash (a beaten egg mixed with a tablespoon of water). This seals the dough and creates a protective barrier between the crust and the filling.
Baking Sheet Underneath: Place your pie on a hot baking sheet to help the bottom of the crust cook quickly and evenly.
With the right recipe and technique, making a perfect pie crust is within reach for every baker. By following these tips and tricks, you’ll be able to create a flaky, golden crust that’s the perfect base for your favorite pie filling. Whether you’re baking for the holidays or just because, a homemade pie crust is the key to a truly special dessert.
Happy baking!
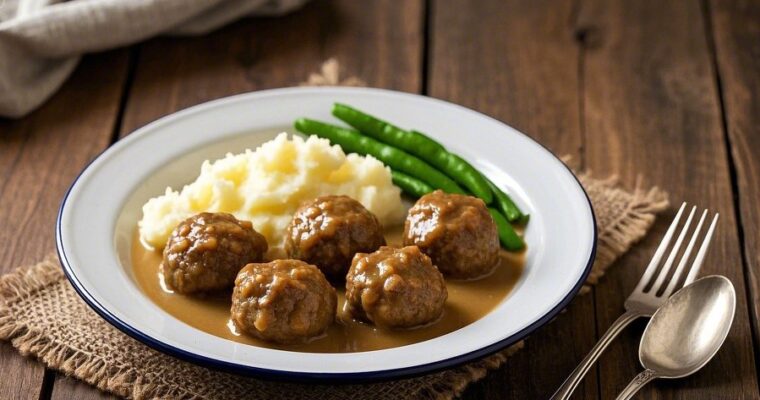
Tender, savory, and full of comfort—these Norwegian-style meatballs made with beef, pork, and a hint of sage were the star of Grandma’s Sunday dinner. No fancy frills, just old-fashioned love and flavor you could smell from the mailbox.